Finally the mungs make their debut on the XCT. They were ready, soaking over night; two mungs and one little radish for good luck. Amazingly they all sprout and don’t die halfway through the sequence – nine hours of 64 captures in 360°. Will the data be any good though? The acquisition of data is now in the hands of Dr Andrew Kingston to process the information for each shot. One data set takes a couple of hours to compile manually and the process is about to be automated in order to get through the enormous amount of work that the facility is generating.
3D tomograph of beans in Drishti import.
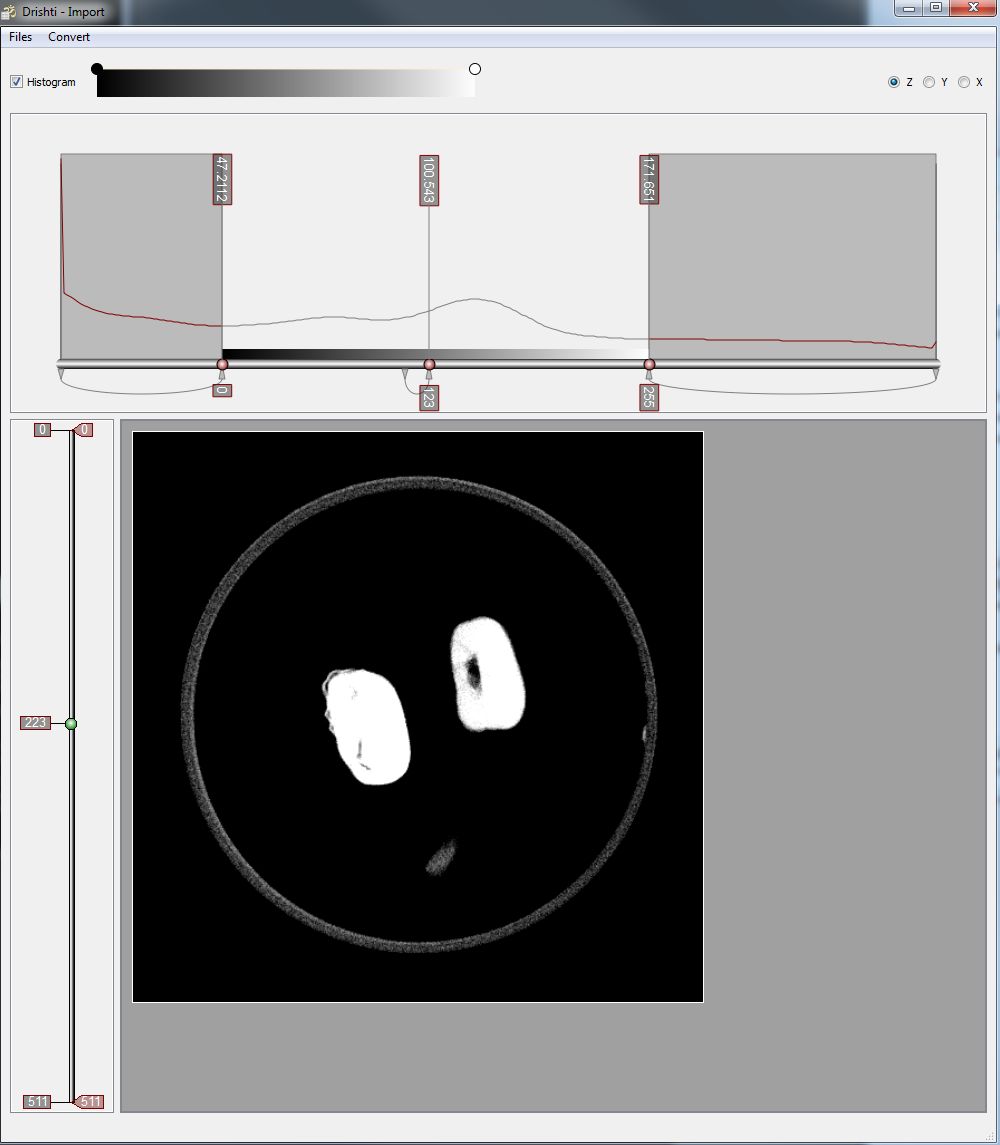
But now for a sneak preview. This is what the volume looks when it is first imported into Drishti to create a subvolume. The import main window is divided into two– a histogram window and an image window. The histogram window is used for display of 1D histogram of the loaded image. Having to understand 3D data as a histogram has been a mind bending experience but I’ve managed to plod along. The image window displays the currently selected slice of volume, like any tomographic image, but you can run through from top to bottom by using the left slider. Sizing the parameters of the volume cuts out most of the junk around the image, reducing the size of the volume.
First volume of beans in Drishti
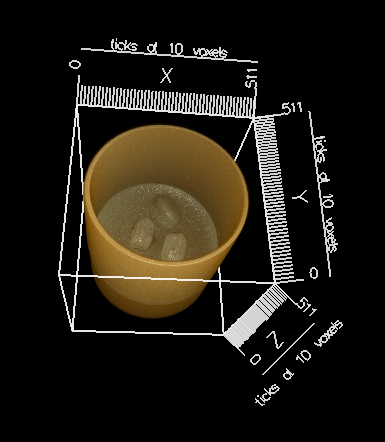
As soon as a subvolume is saved I can drag it across to render. This is the full dataset, the beans in their container on a bed of agar jelly. In Drishti one would normally reduce the volume first by cropping in the low-res mode, but I’ve prepared an animation demonstrating the use of clipping planes to reduce the volume in high res. The process of cropping and clipping is usual for any 3D data set. It is about refining the image and working out which bit of the data is the important information. For instance, if you were examining closely the lung of a rat, you wouldn’t necessarily need its tail. This is what makes Drishti important as an volume exploration tool as it has the function to identify and select the data according to its material density ie; skin, flesh, fat, tissue, muscle, veins, nerves, bone, marrow…
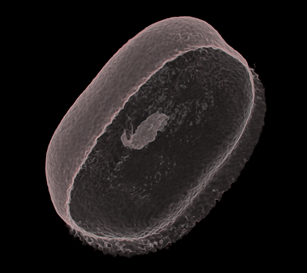
the first bean
So what we have come to realise by looking at this first datset is that the agar jelly is too close in density to the starch based bean. This makes it difficult to use the transfer function to isolate the bean. It was easier with the plastic objects, the data was so straight forward. All I had to do was crop the stems they were attached to. The bean is different, a bit messy, no clean lines and so the object will not be whole in the way that I have imagined it. Drew in Vizlab explains that this is typical of working with living or organic matter, it is never how you want it to be and is always messy. Bones, rock and plastic are easier to render. But for now, this is all I have so I practice stripping of all the spongy muck down to the bare, transparent skin. There is a delicate shape to the bean, and a glimmer inside of the tiny shoot beginning to develop. I like it. I can’t wait to play with the rest of the sequence.
Tim suggests that in the meantime we work out another more contrasting base that will give the bean sustenance, but will not be too dense. I do a web search on such possible materials hoping that I’ll stumble across some new plant growing technology. I spend a bit of time reading about hydroponic systems and pages posted by bromeliad and orchid fanatics. Tim is an expert on all of this anyway as he has maintained his childhood passion for carnivorous plants; two enormous baskets of twisting vines hang from the ceiling of his office resplendent with snappy blooms. Tim decides to foam up the agar so it sets with air. Adding air to agar jelly makes me think of whisks, this makes me think of marshmallow which leads to Pavalova. Its not such a silly idea apparently. Perhaps whipped egg white with agar might do the trick, as long as it retains a marshmallow texture, the tiny bubbles of eggwhite might contrast with the starchy bean.
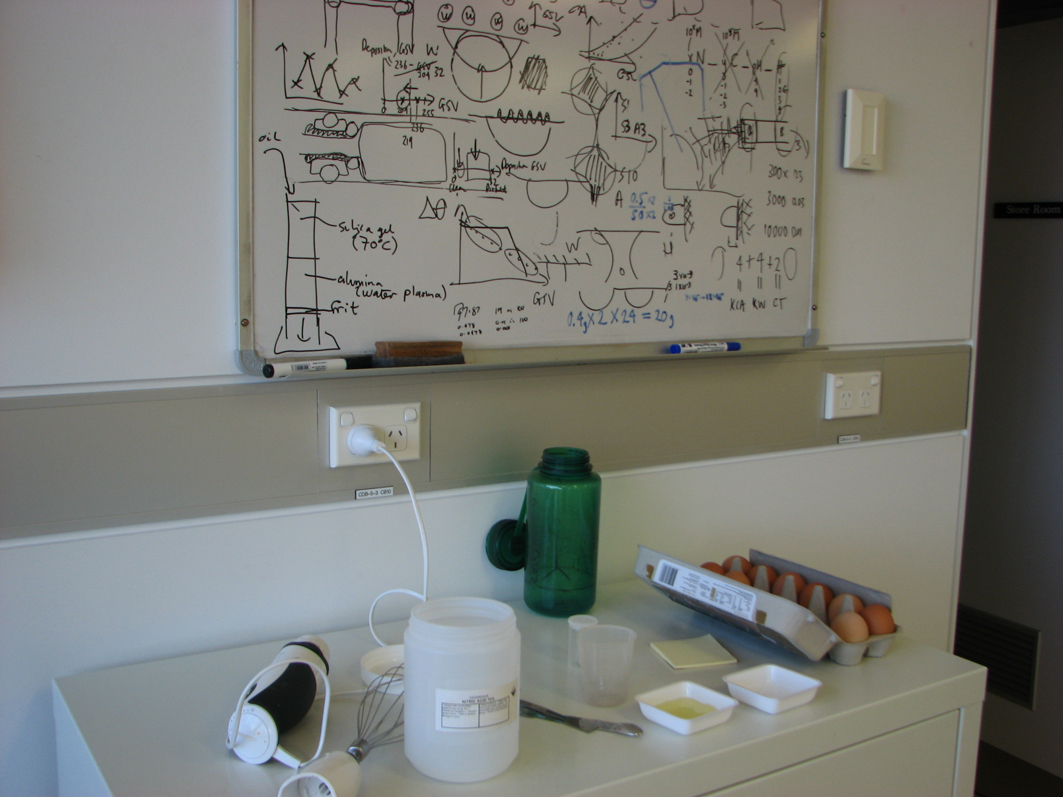
whisking egg whites in the wet lab
preparing a contrasting base for beans
I xxx
I am fond of making the dessert Pavalova and it has been an interest between my friend Rowanne and I for some time now; we have even considered blogging (Pav lovs blog) our efforts for every time we create one the result is unexpected – hit & miss. So for me whipping up eggwhite in the wet lab is seriously amusing. Lab coat, eye protection, glass test tube etc. I get to measure out the agar with nice little measuring spoons but I bring in my own bar mix. There are magnetic mixers in the lab but it’s easier with the electric whisk. I make a few bases in Petri dishes and put them in the fridge for later. I put a few more beans on the soak.